

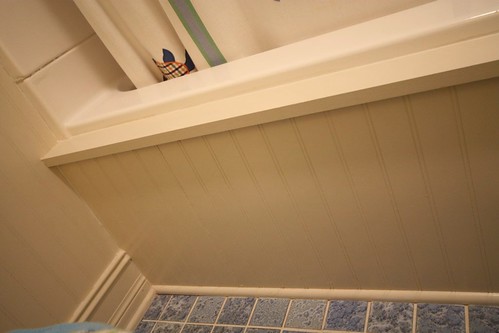
I only have an after picture. I will allow you to leave me nasty comments. Byron and I did this BEFORE I was blogging. Since, I do not have a before picture, let me set the scene. This is a standard fiberglass tub with surround. Every spec house has one...a standard issue.
I wanted the tub to look more custom and to have a built-in look. Byron built a frame out of 1x2s on the front of the tub, then we covered the frame with bead board paneling and trimmed it off. Lots of chalk and paint latter...TA'DA!
This was a very easy project.


**From Byron: Since we were replacing the tile, we were able to nail a horizontal 1x2 directly to the subfloor butted up against the tub. I suppose you could probably just use some "liquid nails" if you wanted to try it on top of an existing tile floor. Next we nailed a vertical 1x2 to the side. Attaching it by nailing it directly into the wall and to the bottom 1x2. Then we nailed a horizontal 1x2 across the top. Basically it is a rectangle frame. Then we nailed the beadboard directly onto the frame. We put a 1x3 on top to cap it off (our tub was a little rounded on the sides, so I had to use a jigsaw to make the top board fit perfectly against tub). Then we painted it all and caulked it really good so that no water could get in between the tub and our new front wood case.**
We also laid the tile, the bead board panelling and painted!


30 comments:
Wow! That looks great! It really looks built in! I love the colors and the floor is so cool {it reminds me of water}. Lisa
Can you elaborate a bit more on this. I have the exact same thing as you do in my bath. Wainscoting and all.
So, how did he attach the frame, ect.
Thanks!
that looks awesome, such a great idea =)
Genius! I can not believe that I have never seen anyone do this before. I love it!
Wow! This would be so much better than our tile up the side! Love it.
What a great idea! I have wanted to do something like this to my corner soaker tub in our master bath. I hate looking at the white fiberglass sides of it all the time. :( Thanks for the inspiration. Looks wonderful!
That turned out wonderful!
Love it! What a great idea.
Also love the new doors in your sidebar. Do you change them every month?
This looks really nice.. Great job.
who woulda thought! LOVE this idea!
It looks fabulous. Has that custom built in look like you were going for.
I think it looks terrific! My hubs and I could never pull off a project like this. You guys are kind and queen of dyi!
What a great way to dress up a fiberglass tub! It looks wonderful!
Kat :)
Oh my, that looks great!
It's a great idea - and it looks wonderful!
Must keep in the back of my mind.....
Following you from Beneath Naps On The Porch.
I love this built in look! This is something I need to do in my bath. I already have the beadboard on my walls. I was going for a beachy look in my bath.
http://extremepersonalmeasures.blogspot.com/
This is amazing! I have got to talk my husband into trying this in our son's bathroom. Thanks for the inspiration!
Such a clever idea! Wonderful results! I love it! Thanks for the tutorial! No worries about the before photos. Life happens. ;)
Cheers!
Tina
Very nice change!
Allison
Hi, stopping by from The Painted Home blog. Your tub looks so great now and how kind that you included the instructions. The beadboard is the perfect touch! You're right that no before photo was needed, most of us have at least one tub like that. Like your tile too.
Your tub looks so custom now!!! Great idea!!! I found you from Make it for Monday. I am your newest follower!!! I can't wait to see what you do next!
Bonnie
http://creatingahouseofgrace.blogspot.com
Love it all!!! I really love the floor tiles though. I would love to use them as wall tile somewhere. So beachy~
Wow! That turned out great! Cool idea, and very well executed!
I liked your thoughts of a tub surround... making it yourself saved a large amount of money and you both did a wonderful job!
Sandy
http://thewondersofdoing.blogspot.com/
I can't believe I came across your post. I was looking at our current tub the other day, thinking...I bet you could create a faux built in look some way. Then...your project!! Very very well done as well. Thank you so very much for showing it. Even if you didn't have the before shots...
AK
That looks GREAT!
Rachelle
Anything that helps something generic look custom is a job well done! Looks great.
What a clever idea! I don't think I have ever heard of anyone disguising the front of a standard bathtub before. It looks fantastic!
That's a great idea, it really came out great! Love your turtle shower curtain :)
I have thought about doing something very similar to this on our new tub for the reno that we're doing right now. I love the look of it. I wish I would have seen this before I finished the tile! LOL! I suppose you could just glue the wood to the tub, too? Anyway - great job! Looks great!
Post a Comment